This past year, my so Truett got into Legos. The problem is that he often loses the pieces everywhere we go. So I made these little to go Lego boxes for him, for Christmas. I saw some other cases out there, all costing a lot more that I was willing to spend, so I got creative.
The Materials:
-Hot clue gun
-Scissors
-Lego base sheet
-plastic pencil case
How to:
This is by for the easiest, most simple DIY ever!
Measure the Lego base sheet to the inside and outside of the pencil case (which I go for $0.88, by the way) and cut accordingly, rounding the edges to avoid future cuts.
Next, simply clue them to the top and inside with the hot glue gun. If you only do the the top or only the bottom, the opposite side will look really bad since the case is see through. So you want to make sure you cover both sides. Though I suppose you could use a different kind of cover for the top- something with the child's name perhaps. I just did the same with both since the sheets were big enough to do so.
This week we had a fundraiser Italian Dinner, to raise money for our youth programs. With two preschoolers in the house, when I think of youthful- I think of crayons. So that is were the idea for the center pieces came from.
At the dollar store, I found some floral Styrofoam, green moss and desk labels. Combined with some crayons, old pencils and printed shields, we put together this very cheap and easy center pieces. the pencil and crayons go right through the floral Styrofoam, so very little glue was needed. The labels were rolled up and glued to keep shape. The shields were glued to each other and the pencil and lastly we glued the moss to cover the Styrofoam.
You can change the shield into whatever you would like and use this for a different event- like a back to school party or a teacher appreciation dinner.
Any other ideas out there? This will be an yearly thing, so I'm going to need a new idea for next year.
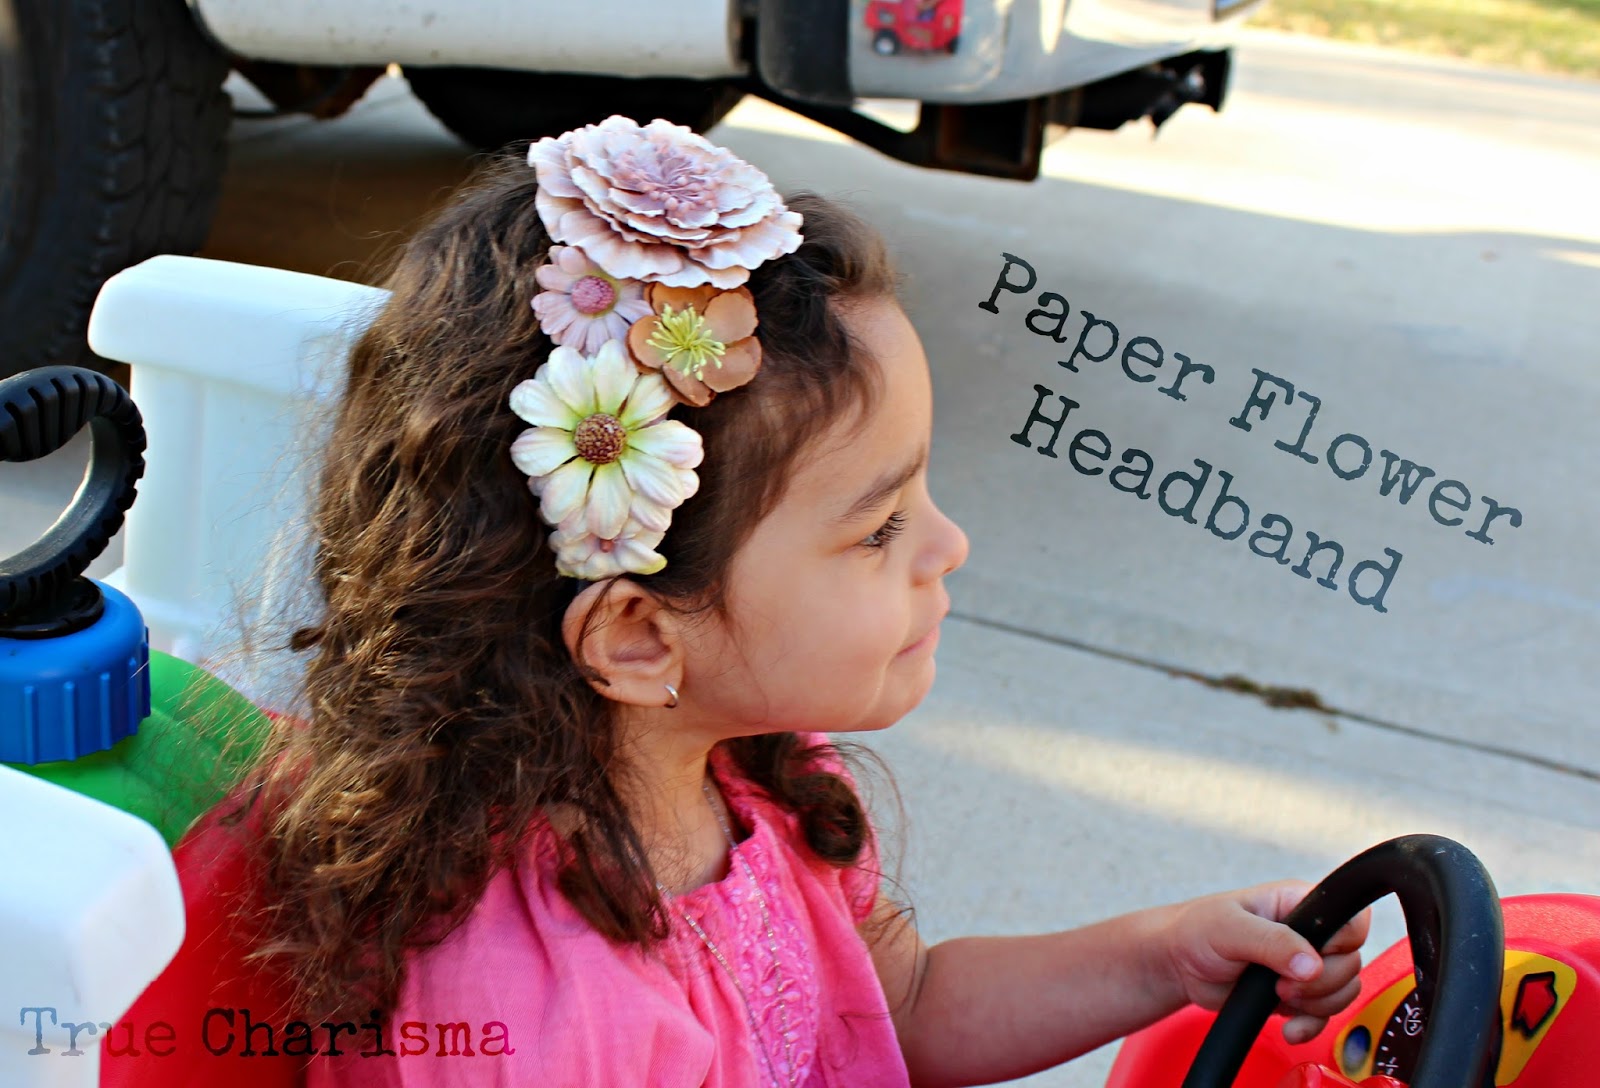
This cute head band only took ten minutes to make.
I found leftover flowers from another craft and a scrap piece of felt. I placed the flowers on the felt without gluing them, just to measured them. With a sharpie I marked the felt and cut around it. I cut the felt on the ends so the head band could go through and with the hot glue gun, I secured the felt to the headband and the flowers to the felt.
Such an easy, quick and cheap craft. I hope this inspires you to make your own. Enjoy!
I love these little flowers and I use them all the time for everything.
So here is the tutorial:
1- I always put the edges of the ribbon of heat in order to avoid fray. The heat makes it kind of melt on to itself. (Make sure you hold over and not on the fire, it will look black and burn if you do)
2- Fold the ribbon in half.
3- Roll the middle to create a solid middle.
4- Start twisting the ribbon as you go around with it. And when you get to the end, fold the end onto the bottom, and glue it together.
* I do glue the ribbon as I go.
And there you have it! An adorable rose to embellish anything you can imagine.
I use them for headbands, hair clips and much more. I also use the to embellish things like this clutch I made.
If you are anything like me, the video is the best way to learn, so here is the tutorial I learnexd from. Hers is a little different because she is using fabric instead of ribbon, so the fray is expected. Also, I will use another materail when attaching it to something like a headband. I put the flower over the band and a small felt circle under it, that way the band is secured between two things. Otherwise, I use the ribbon excess to pull it together.
How do you like this project? I would really love some feed back.
I just recently discovered washi tape and it was love at first craft. So I have been using on everything!
I have used it on paper goods, glass vases, gadgets and even my nails. You probably saw it on one of my felt crafts (yes, it works on felt too)
But the very first thing I did with it was to decorate my pin box.
This was the quickest, easiest and cutest craft I've even done.
I covered to side and top of it with the black polka doted one, and with the pink striped one I made a twisty flower for the top. I did hot glue the flower on the top, just to make sure it survived my clumsy self. But the flower can stay on its own as well.
That twisty flower is super easy to make, but hard to explain, so stay tuned for an upcoming tutorial on those.
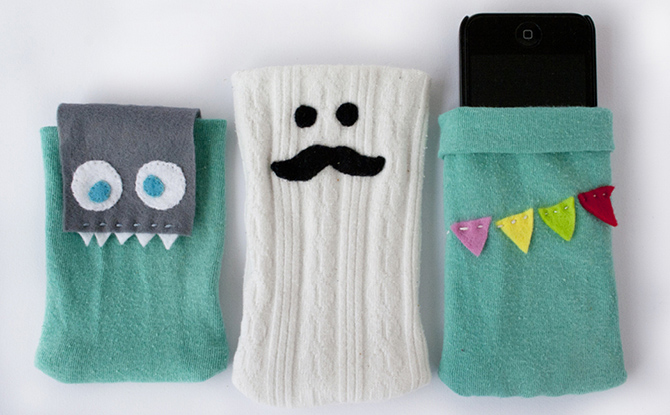
The other day, had a few minuted to spare and some extra felt laying around. The result- my new owl phone case, made out of... you guest it, FELT.
I used my sewing machine for the case itself. However, I am pretty lazy when it comes to hand stitching, so I use my beloved hot glue gun for almost everything, except the buttons which I used for the the eyes and the back, to latch it close. The latch is the rubber band I took from my hair and cut and glued a piece to fit over the button.
I don't have a great step by step tutorial, but here are some links to inspire you.
Enjoy it! And don't forget to send some feed back. If you have any ideas or would like to share your own project, I would love to see it. Much love to all.
So last night I decided to make a little craft using an Altoids case. It is a
little keepsake box.
I used ribbon to wrap the lid and line the inside. But
because the colors were showing through the ribbon, I covered the letters with
write out. I think next time I will take a trip to the store and get some spray
paint.
I finished the top with rolled ribbon flowers, to decorate. I used
hot clue for everything.
To keep the ribbon from coming apart and to
disguise the rough edges I held it over a candle and let the heat shrink it all
away.
This was an easy, quick and inexpensive project. If you try it, or have any other ideas fell free to post a comment and pics. I would love to see it.


 http://pysselbolaget.se/2012/04/20/charmiga-telefonfodral/

